Final Cut Pro X Green Screen Tutorial
Adding the Keying Effect to Your Clip Lucky for all of us Final Cut Pro X has some of the easiest keying features of all the NLEs on the market. VIEW ON CREATOR WEBSITE.
Pin On Film Web Series
Drag this to your clip in the timeline to add the effect.
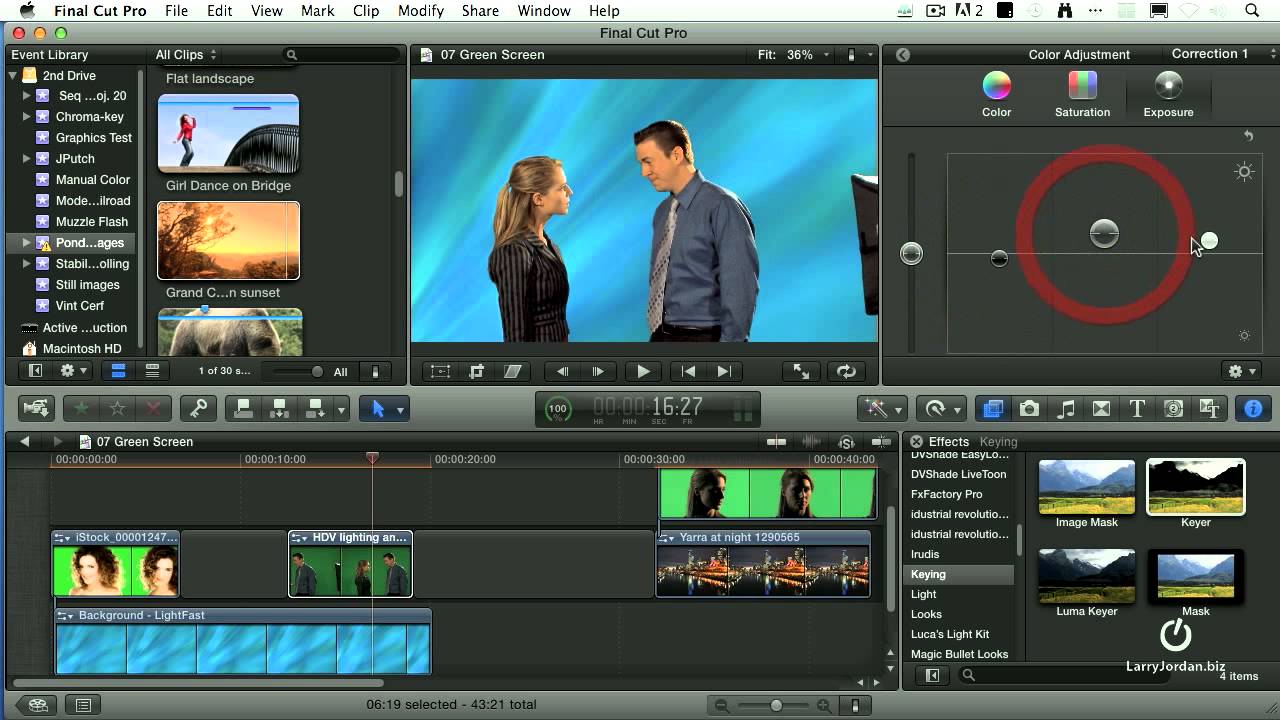
Final cut pro x green screen tutorial. Open the Effects Browser and find the Keyer effect. Select your footage and go over to Effects in the lower right corner of the screen. In this video tutorial I show you how to easily work with green screen video footage and use the chroma key tool in Final Cut Pro XEverything I do online i.
Add your footage to the timeline. Once you have keyed out your green screen you will be able to add effects and filters to your footage and create great movies in Final Cut Express. This effect is also known by chroma keying or just keying.
Green Screen in Final Cut Pro X About Green Screens Green screen compositing or more generally chroma key compositing is a technique for combining two still images or video frames. This Final Cut Studio software tutorial teaches you how to key out a green screen using Final Cut Express. The first thing is to import the green screen clip and the video background clip that you want to add.
When Final Cut Pro X is purchased and installed launch it on your computer. For more information including detailed step-by-step instructions watch this tutorial. Final Cut Pros Keyer effect is a built-in feature for removing green or blue backgrounds from your clips and making them transparent.
In this video tutorial youll learn how to create simple keying effects in Final Cut Pro. Final Cut Pro. How to Use Final Cut Pro X as a Green Screen Editor.
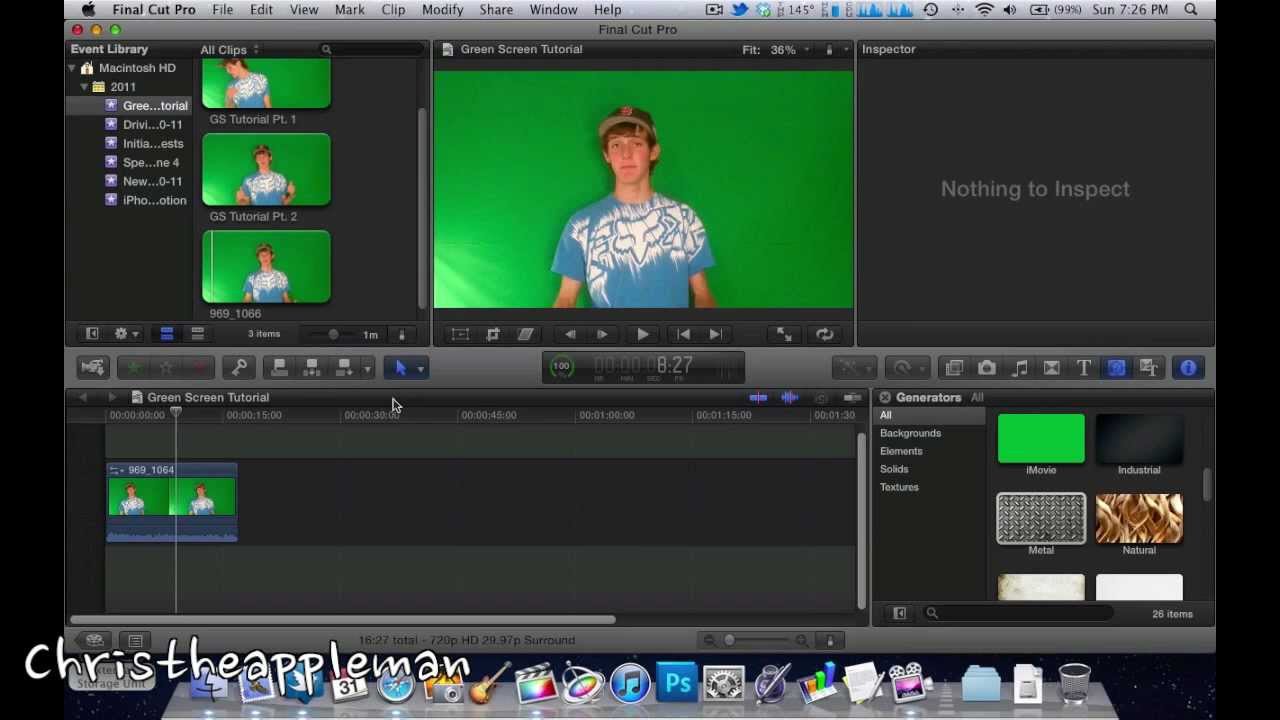
Put your green screen clip and background clip in the timeline. Tutorial Steps to Use the Green Screen in Final Cut Pro Step 1. Well go over how to take footage from an object or person in front of a green screen and use Final Cut Pro to place them in a different location Import your green screen footage into Final Cut Pro and drag into your timeline.
This item tutorial is available from the Creators website using link below. In this video you will teach how to do the green screen effect in Final Cut Pro. This is also known as Chroma Keying.
Whether youre new to Apples Final Cut Pro non-linear video editor or just want to better acquaint yourself with the popular video editing program youre sure to benefit from this video tutorial. In this video you will learn how to. 90 of the time its just one simple click and youve got a perfectly keyed image.
Tutorial Steps to Use the Green Screen in Final Cut Pro Step 1. If you havent already create your project in Final Cut Pro and import your footage. Click on File menu select Import and then select Media option to import files from your local folder.
Final Cut X Green Screen Keying Tutorial - YouTube. Start by selecting the part of your green screen footage that you want to use in your assembled video. Make sure the foreground clip is above the background clip.
Select the Keying effect. Using Green Screen Footage Shooting in front of a green screen gives you the ability to replace the green background with any background of your choice. The first thing is to import the green screen clip and the video background clip that you want to add.
When youve recorded your green screen footage or downloaded it from a royalty free video site import it into Final Cut. Green Screen Sytems presents Final Cut X Chromakey Tutorial from popular Final Cut King.

Pin On Instructional Videos How To Do

Pin On Hobby Time Video

Pin On Programas Mac Y Mas
Pin On Fcp X Youtube Videos